Introduction
Launching a website quickly is crucial in today’s fast-paced digital world. Whether you're a small business owner or a startup founder, getting your online presence up and running efficiently can make all the difference. Webflow offers an excellent solution for those looking to create a modern, flexible website without the need for cumbersome plugins or complex setups like you might encounter with WordPress or Wix.
Webflow stands out as a superior choice for several reasons:
- Modern Design Capabilities: Webflow allows for pixel-perfect designs without relying on external plugins.
- Flexibility: Unlike other platforms, Webflow offers total control over your website’s layout, design, and functionality.
- No Plugins Needed: With Webflow, everything is built-in, meaning fewer vulnerabilities and more streamlined performance.
By following this step-by-step guide, you can quickly and efficiently launch your website using a Webflow template.
Step 1: Choose the Right Template
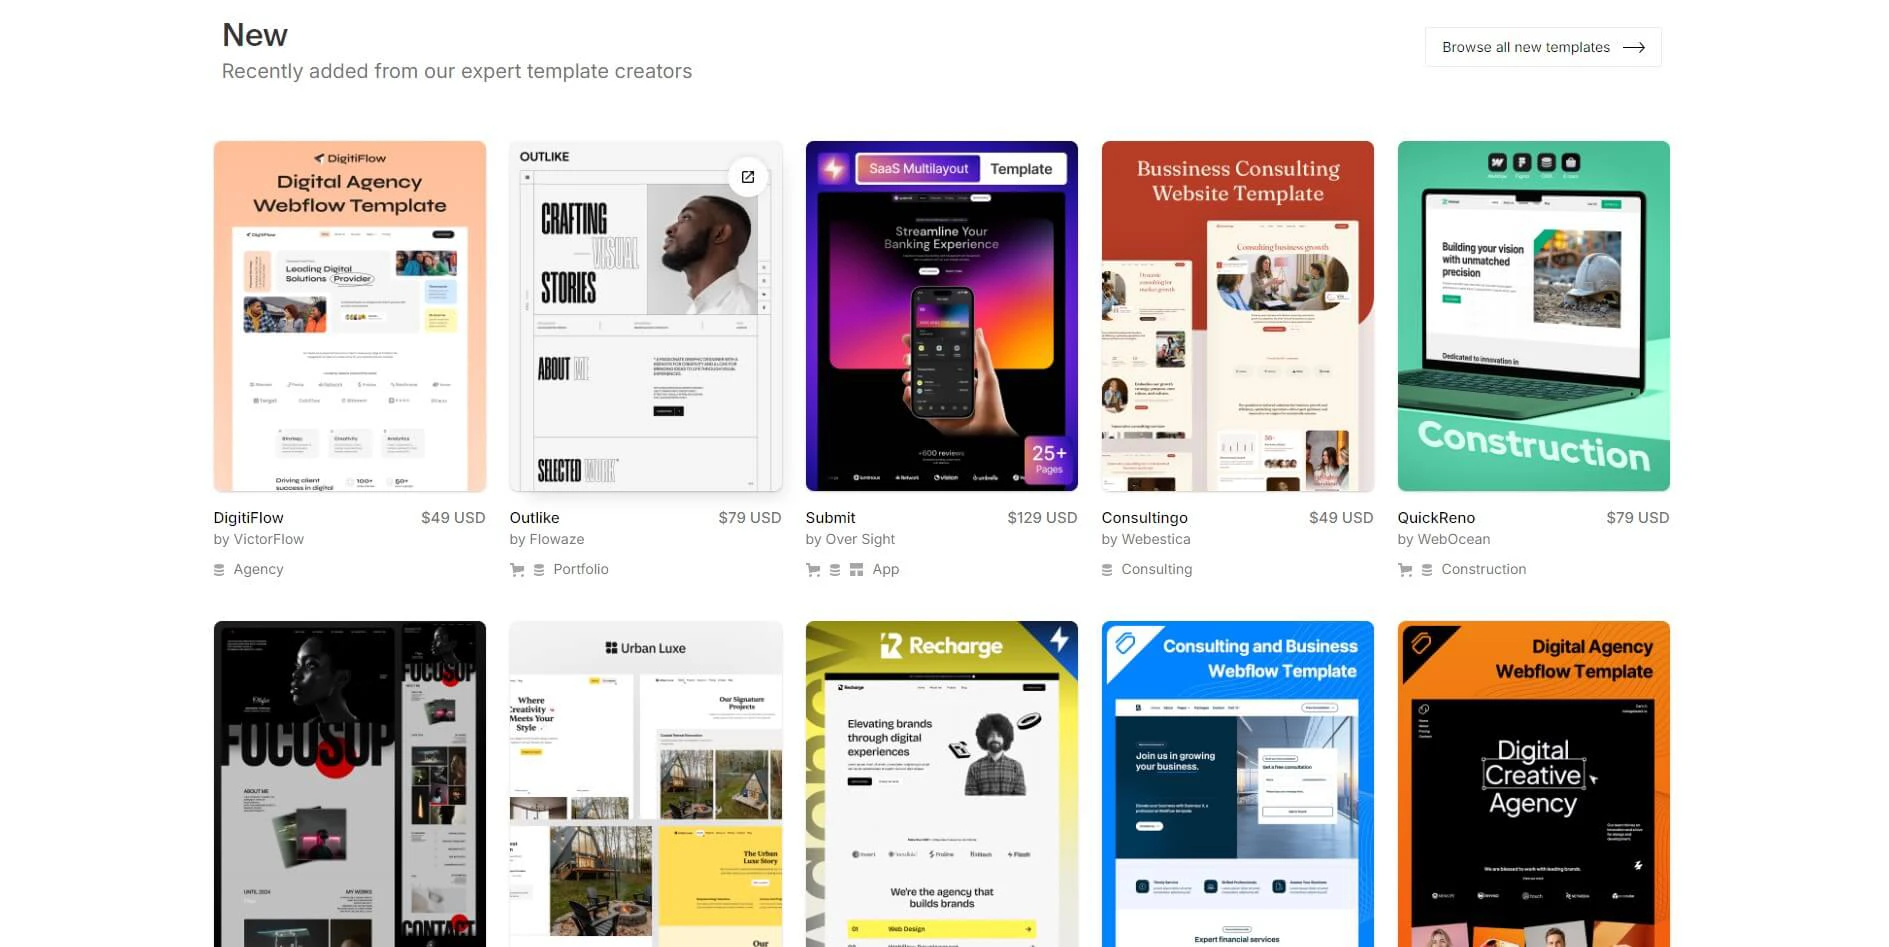
Selecting the perfect Webflow template is the first step in your website journey. The right template will align with your brand’s identity and help you achieve your website goals effectively.
Overview of Webflow Template Categories
Webflow offers a diverse range of template categories, tailored to fit various industries and business needs:
- Agency Templates: Perfect for creative agencies and studios.
- SaaS Templates: Ideal for software-as-a-service businesses.
- Portfolio Templates: Great for showcasing individual or business portfolios.
- Small Business Templates: Tailored for small businesses and startups.
For instance, if you like or choose one of the templates from another designers, we don`t mind at all, in any case we are here to help you customize it.
Tips for Selecting a Template
When choosing a template, consider the following:
- Industry Fit: Ensure the template aligns with your industry and business goals.
- Design Aesthetics: Look for a design that resonates with your brand’s identity.
- Ease of Customization: Some templates are easier to customize than others, depending on your technical expertise.
While the selection process may seem straightforward, remember that choosing the right template is crucial as it sets the foundation for your entire project. For more options, explore our Webflow Templates page to find one that suits your needs.
Step 2: Customize Your Template
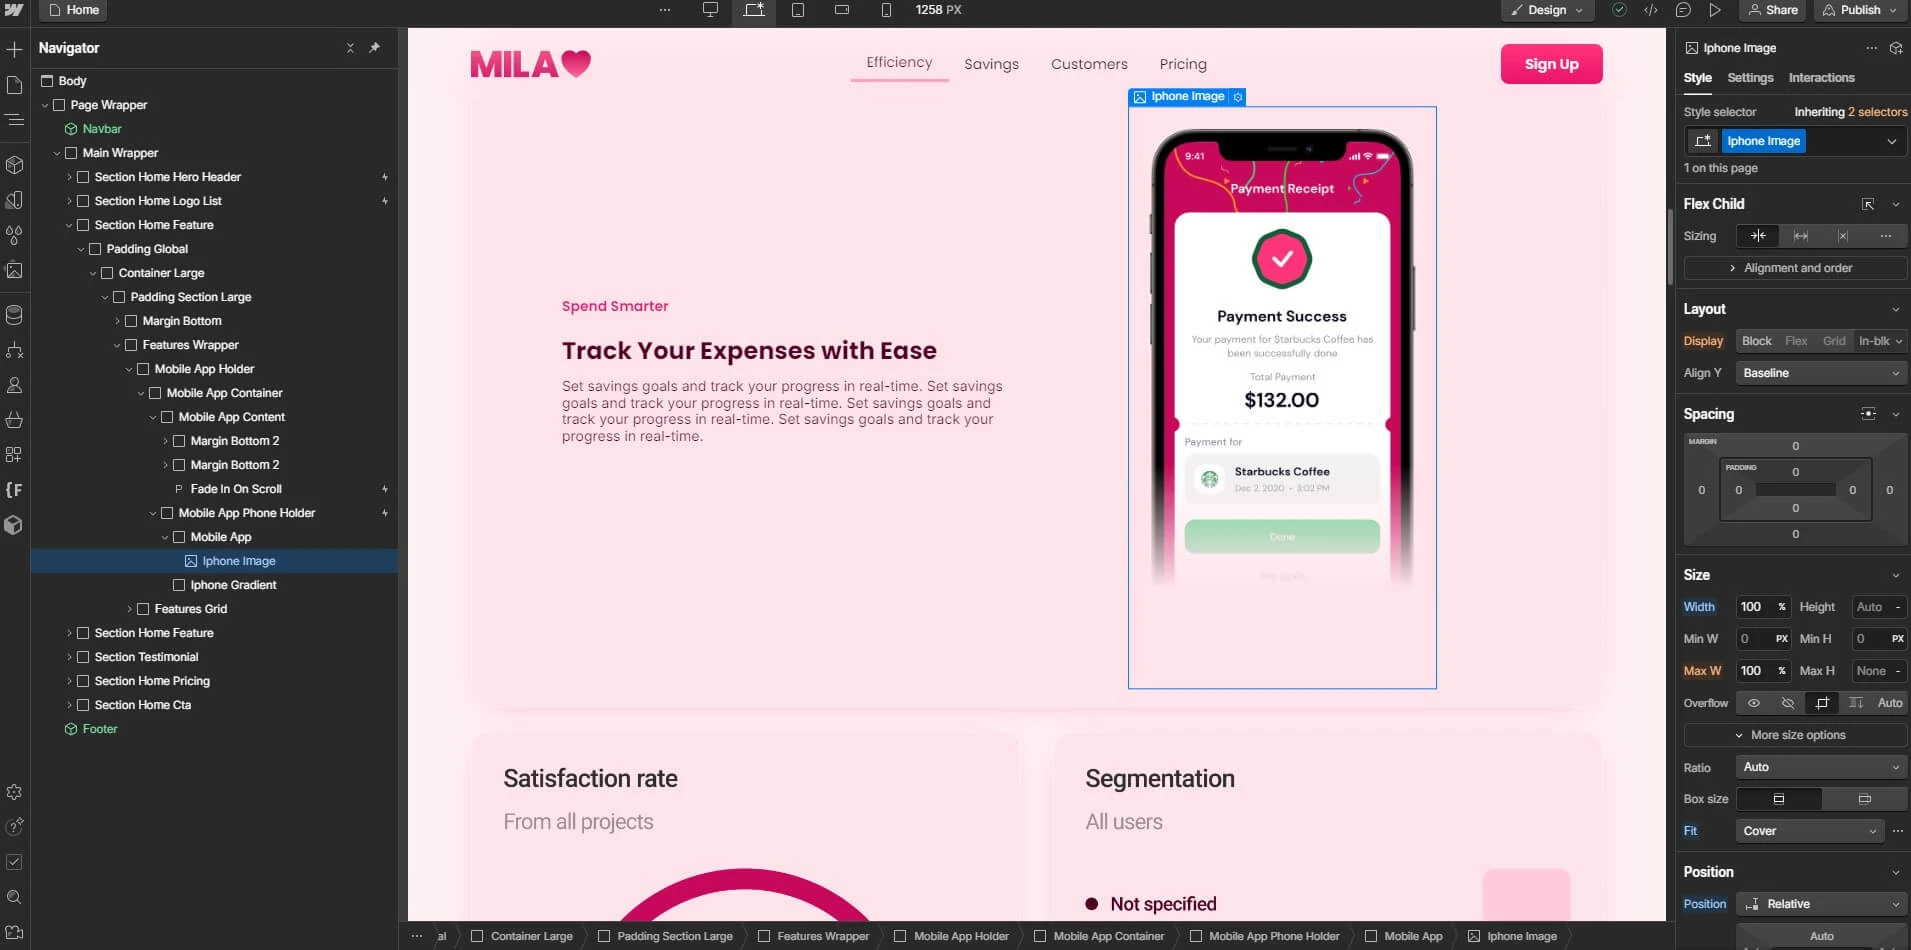
Once you've selected your template, the next step is customization. Customizing a Webflow template allows you to make it truly your own, reflecting your brand’s unique identity.
Basic Customization Steps
Here’s a simple guide to get you started:
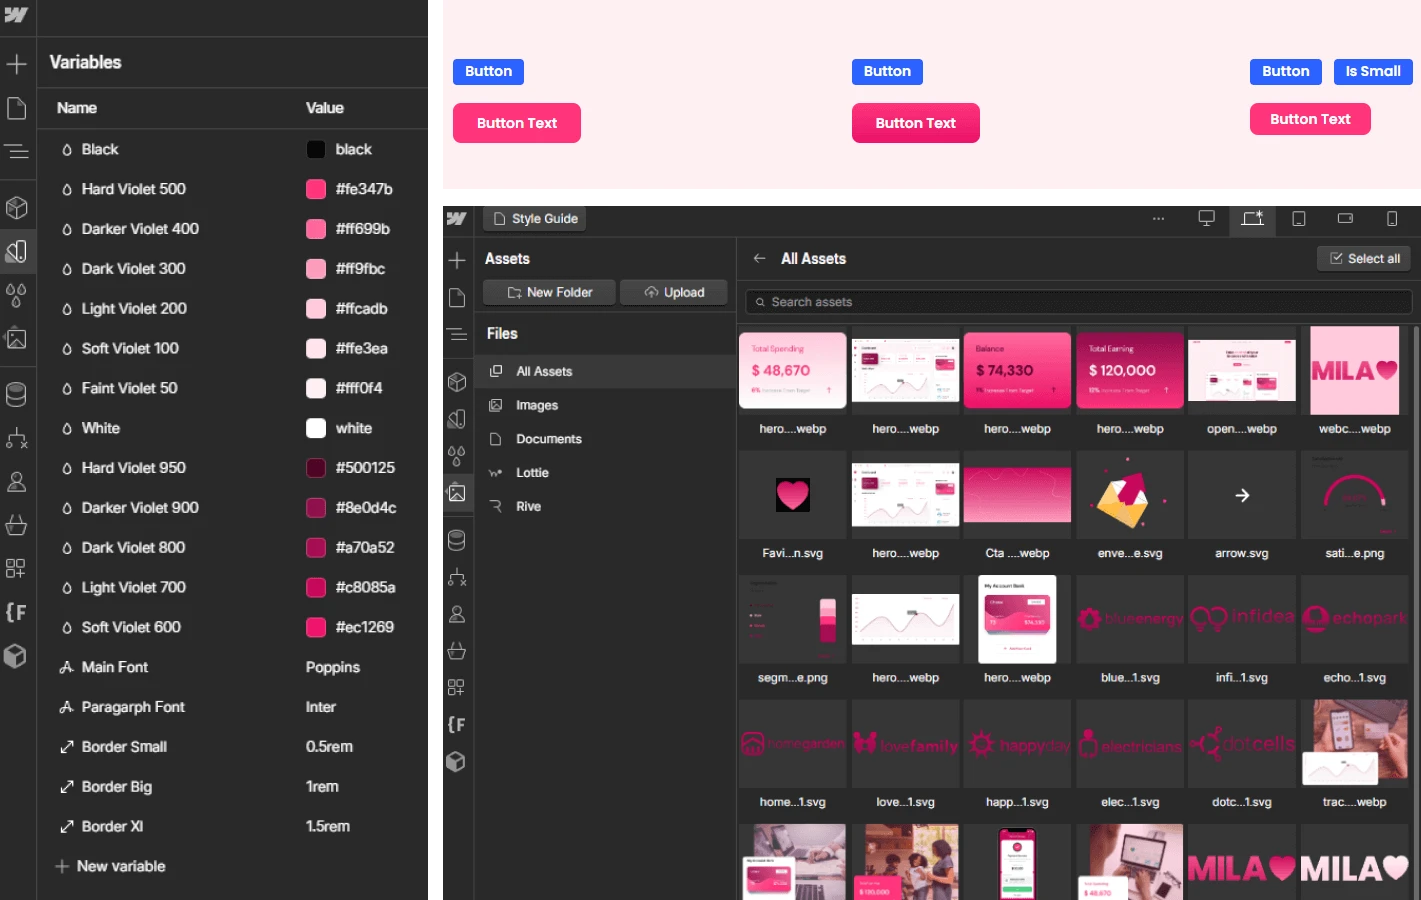
- Change Colors and Fonts: Adjust the color scheme and typography to match your brand’s look and feel.
- Replace Images and Logos: Upload your own images and logos to personalize the template.
- Edit Content: Modify text, buttons, and links to fit your specific messaging and content strategy.
Comparison to WordPress and Wix
Customizing a Webflow template offers more control and flexibility compared to platforms like WordPress or Wix. While these platforms might offer a more user-friendly interface, they often require numerous plugins and lack the design freedom that Webflow provides.
Advanced Customization and the Need for Technical Skills
While basic customization is relatively easy, deeper customization requires some design and technical skills. For example, adjusting the layout, adding custom animations, or integrating third-party tools might be challenging if you’re not familiar with Webflow’s interface.
However, this complexity is a trade-off for the superior control and flexibility that Webflow offers. If you’re looking for a more polished and professional finish, consider investing in our MASTERY plan for webflow expert assistance.
Step 3: Add Essential Content and Media
With your template selected and customized, it’s time to populate your site with content and media that reflect your brand’s identity. This step is crucial because the content is what engages your visitors and drives your message home.
Adding Text, Images, and Videos
Webflow makes it easy to add and format content:
- Text: Simply click on any text field within your template to start editing. Ensure your text aligns with your brand’s voice and message.
- Images: Replace default images with your own by clicking on the image element and uploading your files. Images should be high-quality and relevant to your content.
- Videos: Embedding videos is seamless in Webflow. You can either upload your own videos or embed them from platforms like YouTube or Vimeo.

Optimizing Content for SEO
While adding content, it’s vital to optimize it for SEO:
- Keywords: Use relevant keywords throughout your content to improve search engine ranking. For example, if you’re discussing Webflow templates, consider using terms like custom Webflow template or fast Webflow website.
- Alt Text: Add descriptive alt text to all images, which helps with accessibility and SEO.
- Headings: Use headings (H1, H2, H3) to structure your content and make it easier for search engines to understand.
Media Integration: Seamless but Time-Consuming
Adding media to your Webflow site is straightforward, but it can be time-consuming, especially if you’re aiming for a polished, professional look. Balancing image quality with site speed is crucial, as is ensuring that your media aligns with your overall brand aesthetics.
Step 4: Optimize for Mobile and SEO
In today’s digital landscape, having a mobile-friendly website is non-negotiable. Additionally, optimizing your site for search engines is essential to ensure your site reaches the widest possible audience.
Ensuring a Mobile-Friendly Website
Webflow automatically provides a responsive layout, but you’ll need to fine-tune it:
- Preview on Devices: Use Webflow’s preview feature to see how your site looks on different devices (desktop, tablet, and mobile).
- Adjust Layouts: Modify layouts for smaller screens. This might involve tweaking font sizes, rearranging elements, or hiding some components on mobile devices.
- Test Interactions: Ensure that all buttons, menus, and interactive elements work seamlessly on touchscreens.
Basic SEO Settings in Webflow
Webflow has built-in tools to help you with SEO:
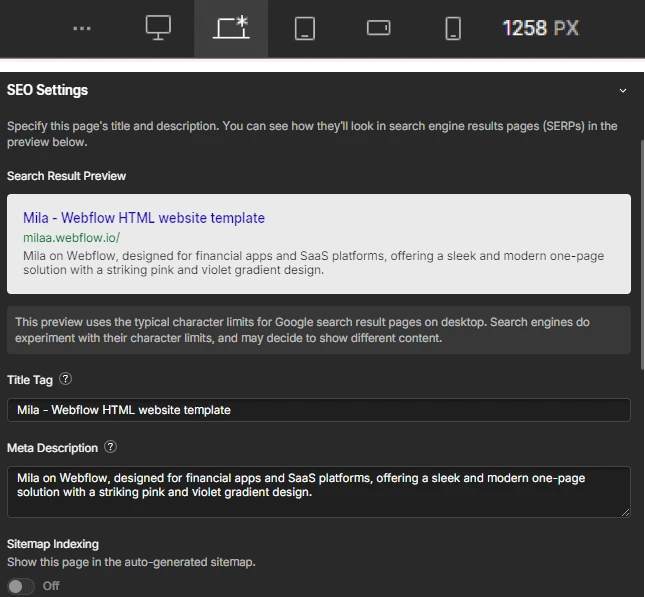
- Meta Titles and Descriptions: Add descriptive titles and meta descriptions to each page.
- Page URLs: Ensure URLs are clean and include relevant keywords.
- Sitemaps and Analytics: Webflow automatically generates a sitemap, but it’s good practice to connect your site to Google Analytics and Google Search Console for better tracking and optimization.
While Webflow’s tools are powerful, perfecting your site’s mobile responsiveness and SEO requires attention to detail. If you’re unsure about any of these steps, our MASTERY plan can help ensure your site is optimized to its fullest potential.
Step 5: Test and Publish Your Website
Before you publish your Webflow website, it’s crucial to test everything thoroughly. Testing ensures that your site is free of errors and provides a smooth user experience across all devices.
Preview and Test Across Devices
Webflow’s preview mode allows you to see how your website will look and function on different devices:
- Preview on Desktop, Tablet, and Mobile: Check each device’s layout and functionality to ensure consistency and usability.
- Test Interactions: Make sure all interactive elements, such as buttons, forms, and links, work as expected.
Check for Broken Links and Formatting Issues
Before publishing, double-check your site for any broken links or formatting issues:
- Broken Links: Use Webflow’s link checker or manually test each link to ensure it directs to the correct page.
- Formatting: Ensure that text, images, and other elements are correctly formatted and aligned across all pages.
Publishing with Webflow
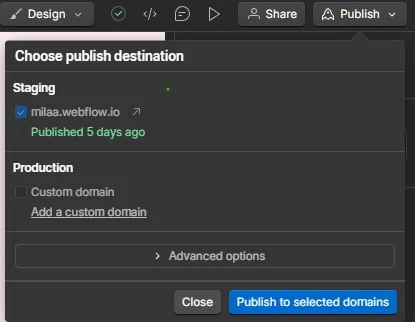
Publishing your site with Webflow is straightforward:
- One-Click Publish: Once you’re satisfied with your site, click the publish button to go live. Webflow allows you to publish to a custom domain or Webflow’s default domain.
Despite the ease of publishing, thorough testing is essential to ensure your site launches smoothly.
Challenges You Might Face
Creating a website with Webflow offers unmatched flexibility and control, but it’s not without its challenges. Especially if you're new to Webflow, you might encounter a few hurdles along the way.
The Learning Curve
For those unfamiliar with Webflow, there’s a learning curve to mastering its features. Unlike platforms like WordPress or Wix, which are often marketed for their ease of use, Webflow requires a deeper understanding of web design principles. However, this learning curve is well worth it, as Webflow provides far more design freedom and performance optimization.
Time and Effort for Professional Customization
Achieving a professional-level website requires time and effort. Customizing your template to fully match your brand’s identity and ensuring all elements work seamlessly can be time-consuming. While platforms like WordPress and Wix might allow you to get a basic site up and running quickly, they lack the advanced customization options and performance capabilities that Webflow offers.
If you find yourself overwhelmed by the customization process, our MASTERY plan can provide the expert help you need to streamline this process and deliver a polished, professional website.
Conclusion
Webflow is a powerful platform that enables you to create a modern, high-performing website. While it offers superior customization and flexibility compared to platforms like WordPress and Wix, it does require time, effort, and a bit of technical know-how to unlock its full potential.
If you’re short on time or lack the technical expertise needed for professional-level customization, consider enlisting some help. Our webflow expert help is designed for those who want a beautifully customized Webflow website without the hassle. We offer quick turnaround, professional design, and SEO setup to help you achieve your website goals faster.
Transform your webflow template
Ready to take your Webflow website to the next level? Our MASTERY plan offers everything you need to transform your template into a fully customized, high-performing website.
With the MASTERY plan, you’ll benefit from:
- Quick Turnaround: Get your site up and running in no time.
- Professional Design: Achieve a polished, professional look that aligns with your brand.
- SEO Setup: Ensure your site is optimized for search engines from the start.
Don’t let the challenges of Webflow customization hold you back. Explore how our webflow template customization plan can help you achieve a stunning website quickly and efficiently.


